Enabling Remote Desktop

With the recent Covid-19 outbreak, we had to setup a lot of users to work from home. We were creating to options for remote access:

  1. Sharing access to their workstation through our existing monitoring agent (we use Datto with Splashtop).
  2. Setting up their existing VPN client with RDP access.

Using the option 1 was beneficial if the users had home computers we weren’t monitoring/managing as it only provide screen control with no real network connection. However, the two limitations to use Splashtop were:

  1. Hard to run dual display setups.
  2. Unable to print from the remote computer to the local printer.

The other thing is that in the bare minimum state, the agent/splashtop setup had a cost per workstation to it. While we were passing this along to our customer at our annual cost, some of them still didn’t want to pay it for multiple employees.

Enter the VPN/RDP connection setup. The main reason for using the VPN/RDP setup is:

  1. It carried no additional cost (most of our customers on are Fortigate firewalls).
  2. It’s easier to work with multiscreen connections.
  3. Has the ability to support printing from the remote system to the local printer.

As a disclaimer: for security reasons, we never open RDP access to a machine through the network firewall to the public internet. We only use RDP access when paired with a VPN connection to limit exposure and security risk.

Instead of having to remote all the way into a users workstation and click through multiple screens, I finally figured out the various CLI commands to speed up this process.

I’ll first list of that I turned this into a batch file you can download and run on the workstation and then I’ll break down each command.

Batch Script

First off, download the zip and extract the batch script.

When you extract the batch file, there is only one place you are going to need to edit. You just need to change the highlighted part below to the users windows username, save it and run in.

All I would have to do was edit the script, upload it to their computer real quick, run it from the agent CLI and then delete the script. Sort of made me feel like a hacker 🙂

Breaking Down the Script

Now I’ll break down the script.

The first line of the script enabled Remote Desktop Connect.

reg add "HKEY_LOCAL_MACHINE\SYSTEM\CurrentControlSet\Control\Terminal Server" /v fDenyTSConnections /t REG_DWORD /d 0 /f

The next line unchecks the Network Level Authentication checkbox.

reg add "HKEY_LOCAL_MACHINE\SYSTEM\CurrentControlSet\Control\Terminal Server\WinStations\RDP-Tcp" /v UserAuthentication /t REG_DWORD /d 0 /f

The next command adds the necessary rules to the Windows Firewall to allow RDP connections.

netsh advfirewall firewall set rule group="remote desktop" new enable=Yes

Next one adds the user to the Remote Desktop Users security group on the workstation to authorize them to remote in using RDP.

net localgroup "Remote Desktop users" "USERNAME_HERE" /add

The last command puts the computer into the High Performance power profile. This will allow the monitor to go to sleep, but does not allow the computer to go to sleep.

powercfg /s 8c5e7fda-e8bf-4a96-9a85-a6e23a8c635c

Chrome Failed Virus Scan Error

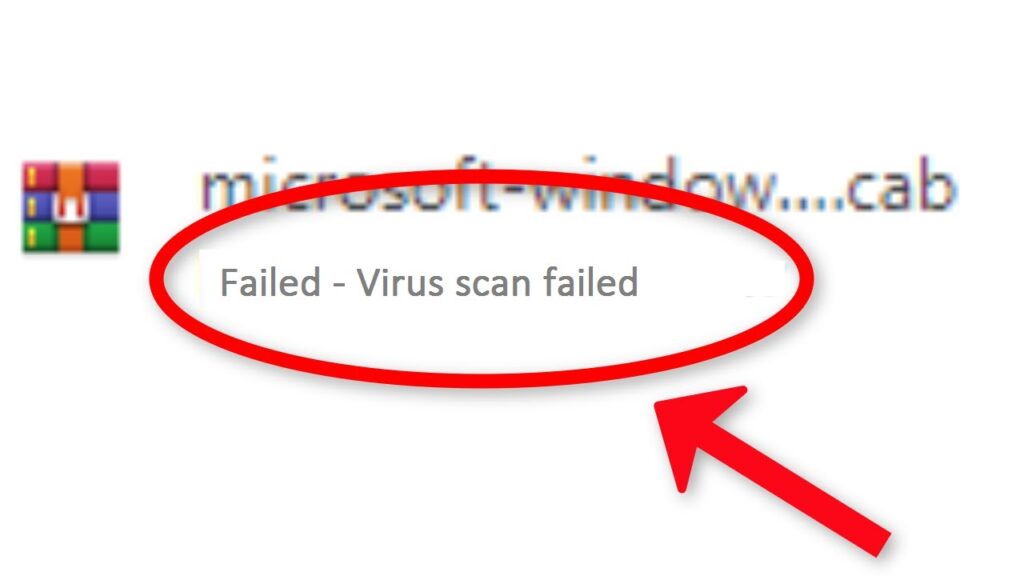
For some reason, Chrome has decided to start having issues with thinking the built in Windows Defender Anti-Virus is out of date and when you try to download files, they fail the virus scan and you can’t use them. This could be PDF, Word doc files, etc. All Legit.

There one main fix for this, but I will list 3 ways to accomplish this.

  1. Download the registry fix file
  2. Copy and paste the script into a command prompt
  3. Manually go into the registry and make the change

Download the Registry Fix

Click the download link below. You will then need to extract the zip file and run the registry file. This will will make the registry change for you.

Command Prompt Script

The next option is to copy a CLI script into command prompt. I mainly did this one because the remote access agent we use at work allows us to run an elevated command prompt from the agent window without taking remote control of the system.

reg add "HKEY_LOCAL_MACHINE\SOFTWARE\Microsoft\Windows\CurrentVersion\Policies\Attachments" /v ScanWithAntiVirus /t REG_DWORD /d 1 /f

Manually Change Registry

You need to open Regedit from the Start Menu. Then navigate to:

HKEY_LOCAL_MACHINE\SOFTWARE\Microsoft\Windows\CurrentVersion\Policies\Attachments

Once there, change the value of ScanWithAntiVirus from 3 to 1.

Lastly, close and re-open Chrome. You will now be able to download and open your file.

Asus Monitor Splendid Demo Mode

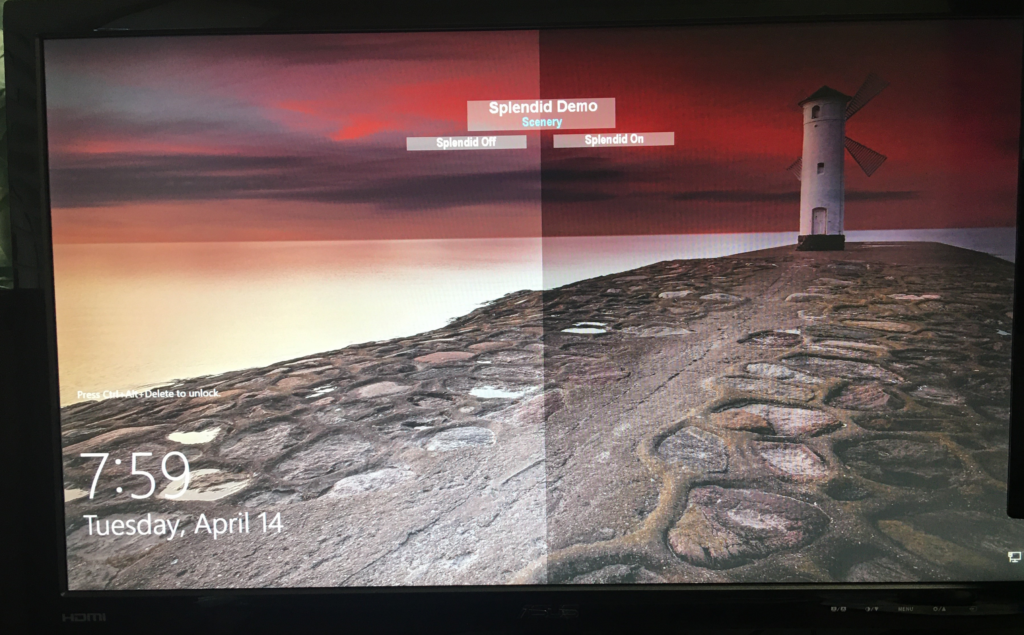
Had a customer call in today and they have a Splendid Demo screen on their monitor.

They have an Asus monitor, so I was able to look up and figure out how to walk them through turning this off. Menu options may vary slightly between models.

  1. Press Menu
  2. Press the down arrow until you see System Setup
  3. Press menu to highlight ‘Splendor Demo Mode’
  4. Press menu again and you will see On/Off
  5. Press down arrow until OFF is highlighted
  6. Then press the try me button (leftmost) twice to turn off menu